
Managing participant documents and permission slips
How to request documents during registration and review, approve, or reject them using the Document Viewer.
You can request participants to upload documents during registration and then review, approve, or reject them directly from the platform.
This is useful when registrations require supporting documents such as proof of performance, licences, certificates, or parental permission slips.
For example, you might require participants to upload proof of a previous marathon finish before allowing them to register for a qualifying event.
Using a file field combined with the Document Viewer allows you to manage these documents efficiently and keep participants informed about their validation status.
Overview of the setup process
To configure document validation, you will need to:
-
Install the required modules
-
Create a file field in your participant form
-
Create email templates for accepted and rejected documents
-
Configure the Document Viewer settings
-
Add the Registration Status widget to the participant dashboard
-
Review and validate uploaded documents in the Document Viewer
Once configured, participants will be able to upload their documents and you will be able to approve or reject them directly from the platform.
1. Configuration
1.1 Install the required modules
To use document validation, install the following modules:
-
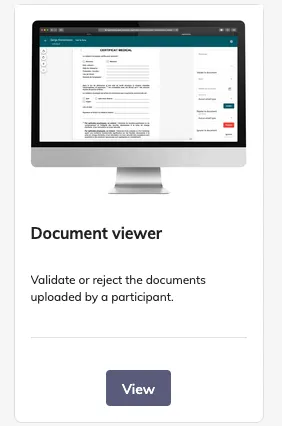
Document Viewer
-
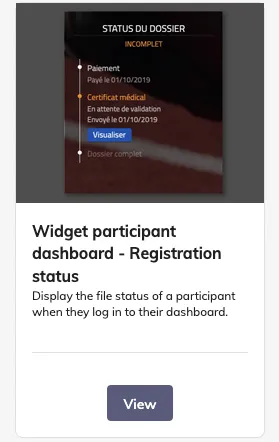
Widget participant dashboard – Registration status
These modules allow you to review uploaded documents and display their validation status to participants.
1.2 Create the file field
Go to:
Setup → Forms
Edit the Individual form (or a secondary form without role if it is included in your workflow).
Add a new field and select File field.
Configure the field:
General settings
- Add a clear label (for example: Proof of previous marathon finish)
Visibility tab
Define for which competitions the field should be:
-
Visible
-
Required
-
Editable
Advanced settings
Open Validation rules and enable:
Permission slip
Then click Save.
Important
If the field is not required, participants will still be able to upload the document later from their participant dashboard.
1.3 Create email templates
Participants should be informed when their document is accepted or rejected.
Create two email templates:
-
One for accepted documents
-
One for rejected documents
Go to:
Communication → Emails → Create an email
Destination: Registered
Email type: None
Write your email and customise it as needed.
Useful variables you may include:
-
Permission slip status
-
Notes on permission slip
-
Link to the participant dashboard
These variables help participants understand their status and know what action to take if necessary.
You can duplicate the first email and adapt it for rejected documents.
Optional: reminder email
If the file field is not required, you may also create a reminder email encouraging participants to upload their document later.
This can be automated using email rules.
1.4 Configure the Document Viewer
After installing the module, a new menu appears in the sidebar:
Document Viewer
Go to:
Document Viewer → Settings
Here you can configure:
-
Email templates used for accepted documents
-
Email templates used for rejected documents
-
Data displayed for each file field
-
Whether registration tags should be displayed
-
Layout of registration information (line or column)
-
Whether the participant age should be displayed
If displaying age, you will also need to:
-
Map the Date of Birth field
-
Define the reference date used to calculate age
-
1.5 Add the Registration Status widget
This widget allows participants to see their document status and upload missing documents from their dashboard.
Go to:
Tools → Dashboards → Participant
Edit your participant dashboard.
Then:
-
Click Edit
-
Add a widget
-
Select Registration Status
-
Click Save
1.6 Registration status tags
A tag category for registration status is automatically created in your edition.
You can find it here:
Tools → Tags → List of tags
This category is linked to the permission slip validation status and includes two tags:
-
Incomplete
-
Complete
These tags are automatically applied depending on whether the participant’s document has been validated.
They can be useful for filtering participants, building email rules, or identifying registrations that still require document review.
Important
If your edition was copied from another edition or created from a template, this tag category may not exist. We recommend checking that it is present before setting up reminder emails or filters.
1.7 Review and validate documents
Once participants start uploading documents, you can review them in the Document Viewer.
Go to:
Document Viewer → Document Viewer
From this interface you can:
-
View uploaded documents
-
Select the sport and expiry date
-
Add a note for the participant
-
Accept the document and send the acceptance email
-
Reject the document and send the rejection email
Using filters
The filters in the top right help you organise your review process.
You can filter by:
-
Competition
-
Registration status
-
Participant type (participants / registrations / applicants)
-
Permission slip type (if multiple file fields exist)
-
Registration dates
-
Display order
2. Additional tools and tips
2.1 Documents to review widget
You can add a widget to the organiser dashboard showing how many documents are waiting for validation.
Clicking the number takes you directly to the Document Viewer.
Search for the widget:
Documents to review
2.2 Display document status in the participant list
You can add a column to the participants list showing the document validation status.
This allows you to quickly identify registrations that are still incomplete.
2.3 Restrict access to document validation
If needed, you can create a role with access to the Document Viewer only.
Go to:
Structure → Manage user roles
Read our article on managing user roles here.
3. Participant experience
Once the system is configured:
-
The participant uploads the requested document during registration.
-
Their registration is marked as Incomplete until the document is validated.
-
You review the document in the Document Viewer.
-
The participant receives an email notification if the document is accepted or rejected.
This process helps ensure that all required documentation is verified before the event.
4. Allowing participants to upload documents later
If you want participants to upload their document after registration, make sure the file field is not required.
You can then:
-
Remind them in the confirmation email
-
Send automated reminder emails
Using Email Rules, you can schedule reminders (for example once per week) and target only participants whose registration status is Incomplete.
In these emails, include a link to the participant dashboard and explain how to upload the missing document.
Learn more about email rules here.
If you are unsure about the best configuration for your event, our team is happy to guide you.