
How to create and manage emails
Design, customise, and organise emails for your participants.
1. How to create a new email
Go to:
Communication → Emails → Create a new email
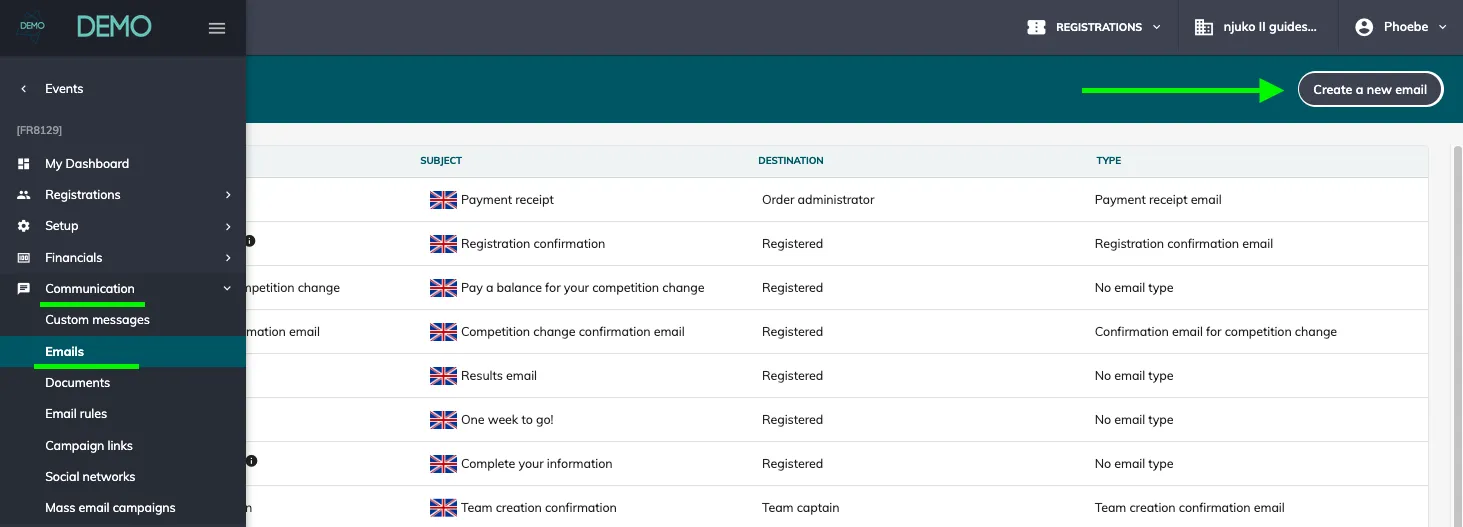
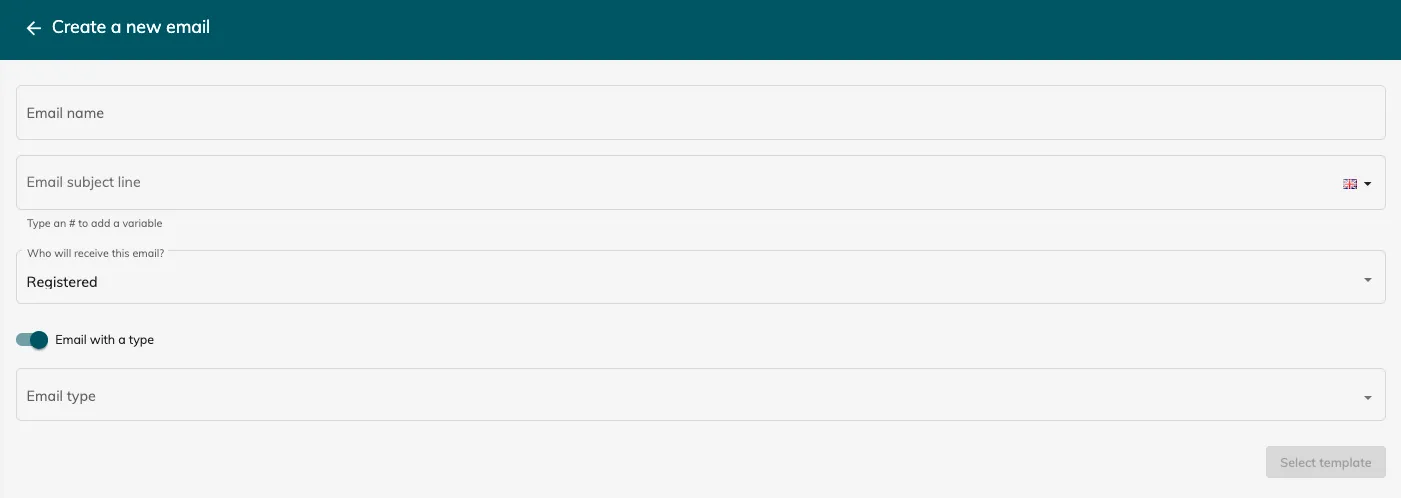
Enter the required information:
-
Email name (internal reference only)
-
Subject line
-
Recipient (who will receive the email)
-
Email type (optional)
2. Understanding email types
Email types define when an email is sent automatically.
For example:
- A Registration confirmation email is sent automatically when a registration is created.
Key principle:
-
With a type → sent automatically based on a trigger
-
Without a type → must be sent manually, via an email rule or a campaign
Common email types
Core emails:
-
Registration confirmation email
-
Payment receipt email
Group emails:
-
Group creation confirmation
-
Group invitation
Team emails:
- Team creation confirmation
Module-based emails (only visible if the module is installed):
-
Waiting list invitation
-
Registration transfer
-
Competition change
-
Cancellation emails (request accepted / refused)
-
Abandoned cart emails
-
Gift entry confirmation
-
Ballot cart payment confirmation
-
Pre-registration invitation email
-
Email to an application
-
Application registration confirmation
-
Application conversion email
3. Build your email content
Use the drag-and-drop editor to structure your email.
Available blocks:
-
Text
-
Image
-
Button
-
Divider / spacer
For each block, you can:
-
Edit styling
-
Move or duplicate
-
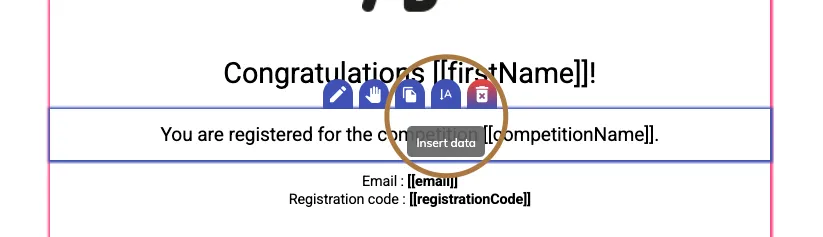
Insert variables
-
Delete

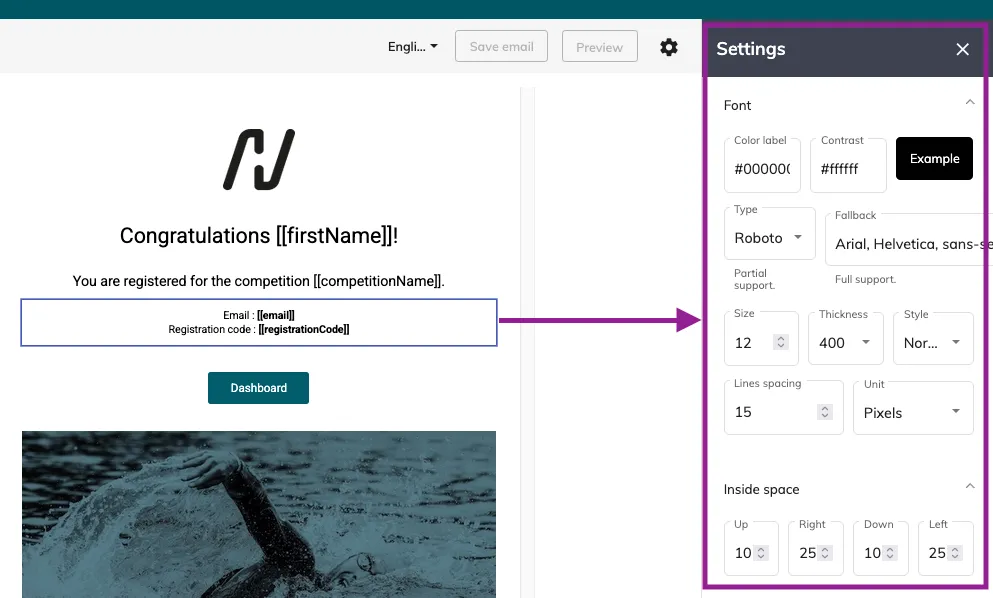
If you edit a text block, you’ll see a settings window pop up with many configurable options:
4. Use variables
Variables allow you to personalise emails with participant data.
You can insert:
-
Form answers
-
System fields (name, email, etc.)
-
Registration data
-
Metadata
This ensures each email is tailored to the recipient.
5. Save an email as a template
To reuse an email layout throughout all your editions:
-
Open your email
-
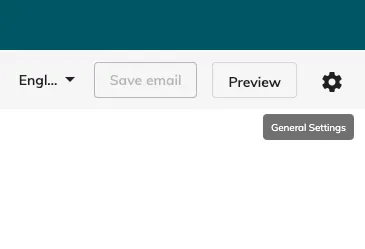
Click Settings (top right)
-
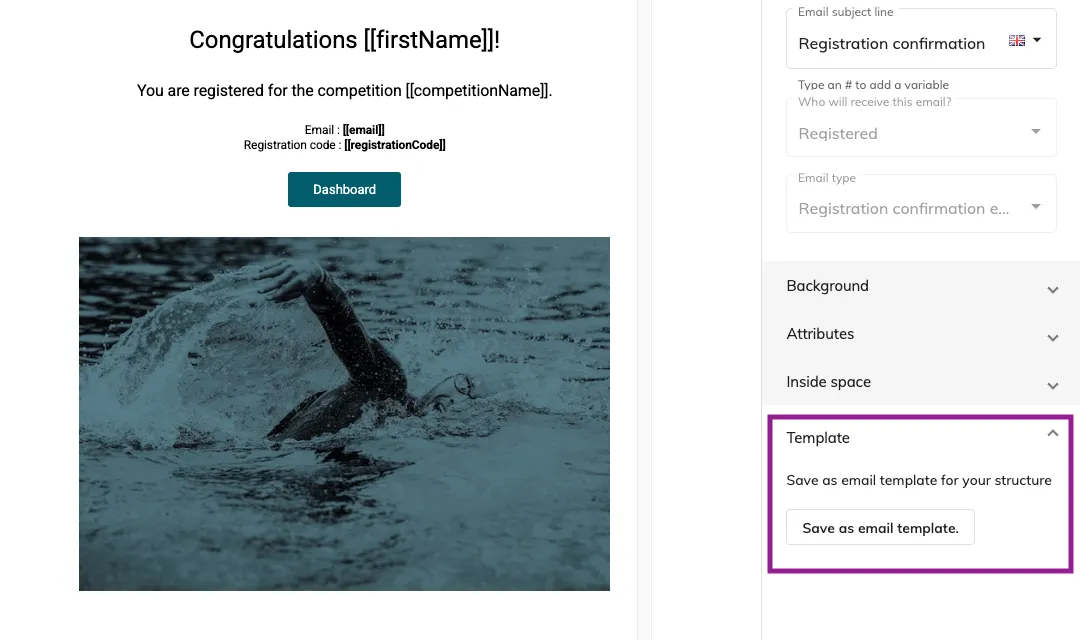
Select Save as email template
-
Name your template and add a preview image
-
Save
Templates help maintain consistency across your communications.