
How to use the njuko On Site app
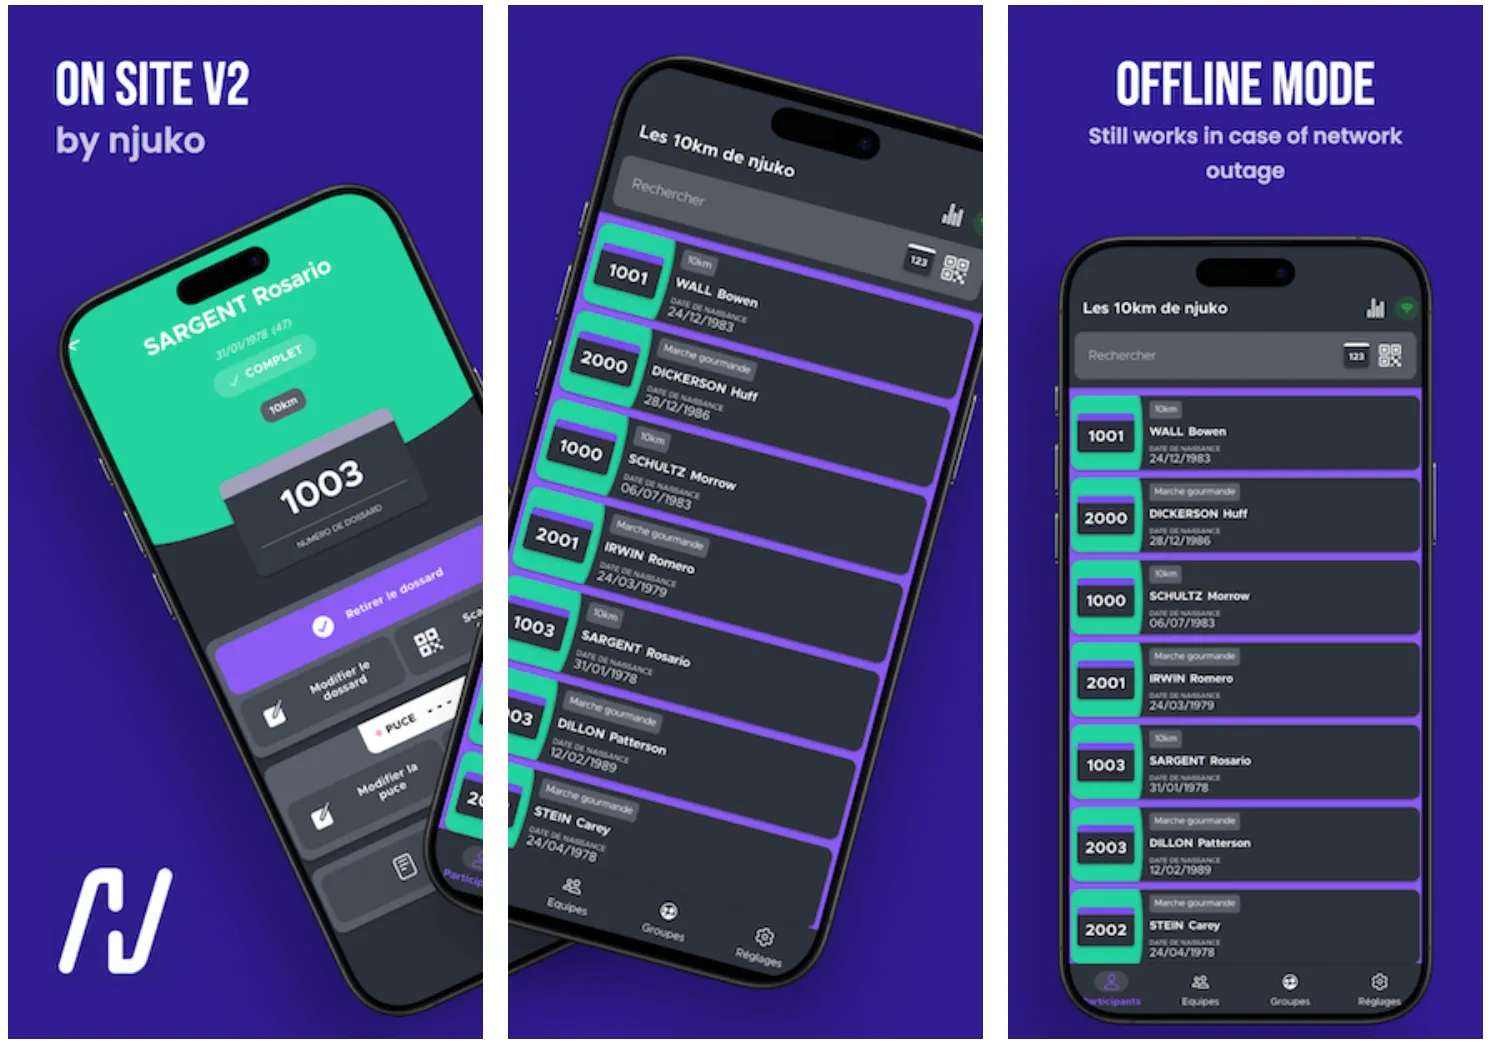
Use the njuko On Site app for race week and event-day check-in, participant management, and bib collection.
The njuko On Site V2 app is designed for organisers, staff, and volunteers managing registrations on site.
Use it to:
-
Check in participants quickly
-
Search registrations in real time
-
View participant details
-
Allocate bib numbers
-
Validate documents
-
Manage teams and groups
-
Track bib collection on race day
Available on iOS and Android.
1. Install the app
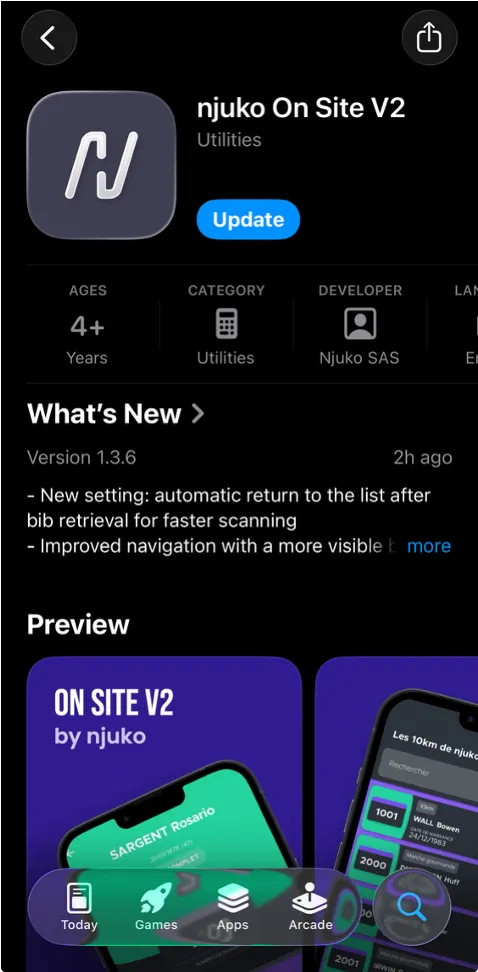
On your device (phone or tablet), download:
njuko On Site V2
Available in:
-
Apple App Store
-
Google Play Store
2. Connect to your edition
Open the app and connect to your event using one of the following methods:
Option 1: Scan the QR code
The race organiser will provide a connection QR code.
Option 2: Enter credentials manually
Use the:
-
Edition ID
-
API Keys
3. Enter your name
When connecting, enter your name.
This is used for internal statistics and activity tracking.
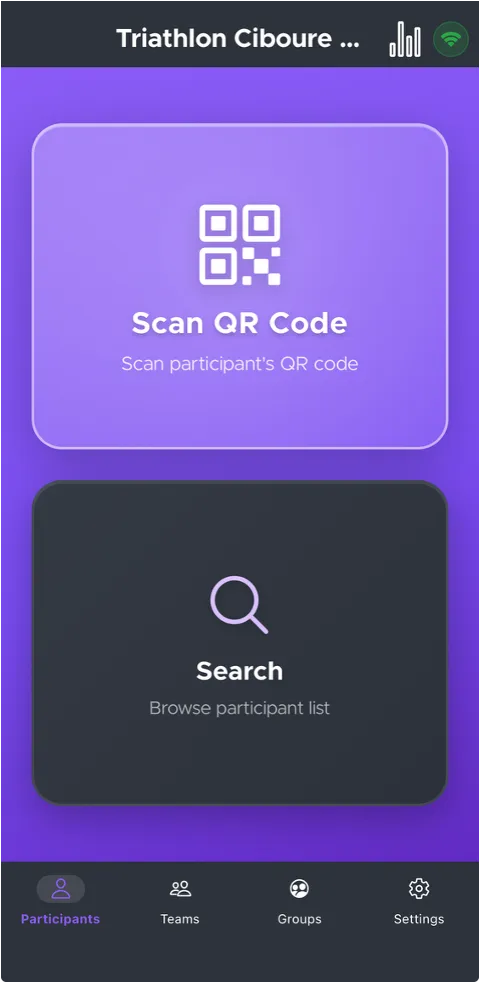
4. Search for a participant
You can find participants in two ways:
Scan their QR code
Scan the participant’s registration QR code, if they have it.
Use the search function
Search by:
-
First name
-
Last name
-
Bib number
5. View participant information
When you open a participant record, you will see:
-
First name and last name
-
Date of birth
-
Competition (race / distance)
-
Bib number
-
Registration forms and permissions
Status colours
The background colour indicates the participant’s status:
-
Complete
-
Incomplete
-
Not registered (cancelled or other)
This allows staff to identify issues quickly.
6. Allocate or change a bib number
If the participant does not yet have a bib number, or if you need to update it:
Tap the bib number field (even if empty), then choose:
Enter manually
Type the bib number directly.
Scan the bib QR code
Scan the QR code printed on the bib you are handing out.
This is the fastest option during busy collection periods.
7. View forms and permissions
Tap:
Forms & Permissions
You will then be able to access:
-
Registration form answers
-
Additional form answers
-
Participant details submitted during registration
Scroll through the forms to review all fields.
8. Manage uploaded documents
Go to:
Forms & Permissions → Permissions
You can view uploaded documents such as:
-
Medical certificates
-
Previous race results
-
Other required files
Available actions
-
Change document status
-
Take a photo of a new document
-
Validate or reject documents
Document statuses
-
Accepted — document approved
-
Pending — waiting for organiser review
-
Rejected — invalid document, replacement required
9. Manage teams
Tap Teams in the bottom menu.
You can search teams by:
-
Team name
-
Bib number
From the team list, you can view:
-
Team status (green = complete / orange = incomplete)
-
Number of participants and their status
-
Team bib number
-
Competition
Tap a team to open full details.
Retrieve all bibs
Use the Retrieve all button (top right) to mark all team bibs as collected in one click.
You can identify collected bibs using the retrieval icon shown in the app.
10. Manage groups
Tap Groups in the bottom menu.
You can search by:
- Group name
From the list, you can view:
-
Group name
-
Number of members
-
Group leader name
Tap a group to open full details.
Retrieve all bibs
Use the Retrieve all button (top right) to mark all group bibs as collected in one click.
11. Best practices for race week
-
Test the app before race week
-
Ensure volunteers know how to search participants
-
Use QR scanning for faster check-in
-
Prepare bib QR codes in advance
-
Review incomplete registrations before collection opens
-
Train staff on document validation rules
If you would like support preparing your on-site setup, our team will be happy to help.
Download the PDF guide to hand out on race week: