
Set up a custom sender email address
Send emails from your own domain to improve trust and deliverability.
Using a custom sender email address allows you to send emails from your own domain (e.g. @yourevent.com) instead of a default sending address.
This improves:
-
Trust with your participants
-
Email open rates
-
Overall deliverability
Using an address aligned with your organisation ensures your communications feel professional and reliable.
1. How to configure your sender address
1.1 Install the module
Install this module from the Store:
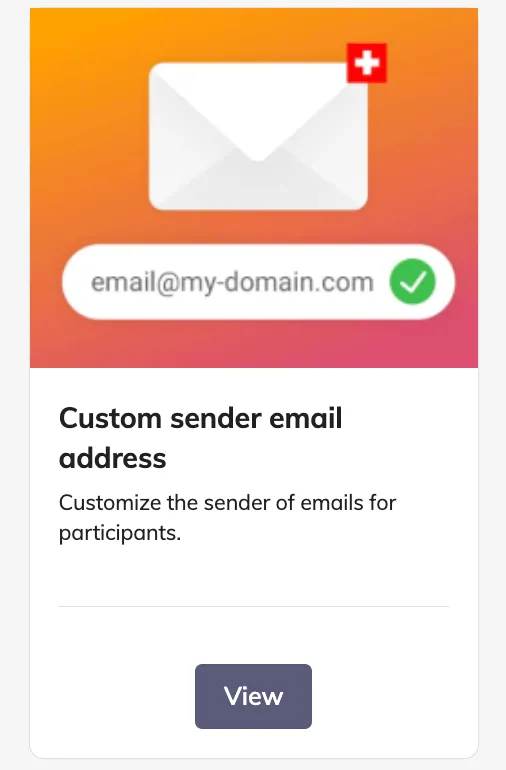
1.2 Configure the sender address
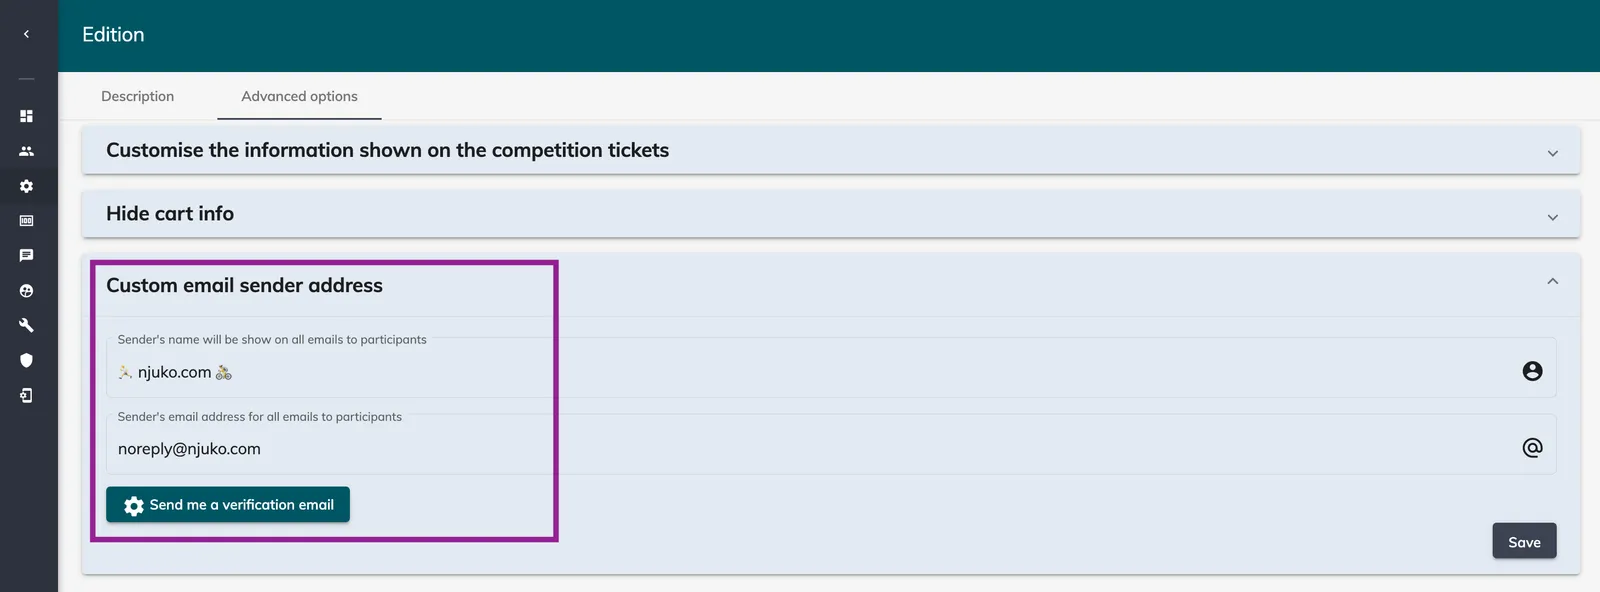
In your edition, go to:
Setup → Edition settings → Advanced options → Custom email sender address
Enter the email address you want to use (e.g. contact@yourevent.com).
Once entered:
-
The domain will be detected automatically
-
DKIM and SPF records will be generated
Then click Save.
1.3 Configure your domain (DKIM & SPF)
To authenticate your domain, you must add DNS records.
What to do:
-
Copy the DKIM (and SPF if provided) records
-
Send them to the person managing your domain (IT / web provider)
-
Ask them to add the records to your DNS configuration
⚠️ Important
-
Do not replace your existing SPF record
-
It must be merged with the one provided
1.4 Wait for validation
Once added:
-
DNS changes can take up to 24 hours
-
AWS will automatically validate the records
Once validated, your emails will be sent from your custom address.
2. Test your setup
Before sending large campaigns:
-
Send a test email
-
Check inbox placement (and spam folder)
-
Confirm sender address displays correctly
🔗 Related article
👉 Improve email deliverability
(Recommended to maximise performance and avoid spam filters)
If you are unsure about the best configuration for your event, our team is happy to guide you.